


If you used to the old Windows Start button, you may want to access the Power buttons faster and easier and tile them to the Windows 8 Start Screen. There are various ways to do that like creating shortcuts for Shutdown, Restart etc. and add them to the Start Screen (I will tell you about this method in different article later). But in this post I'll show you how to achieve this by using Windows 8 PowerShell and some small pieces of script codes.
ADVERTISEMENT
Step 1
Go to the link below and download the CreatWindowsTile script from the Microsoft TechNet. After download you'll get a zip file, unzip it on your local machine like in C: drive. Right-click on the CreatWindowsTile.psm1 file, from the menu select Properties and then Unblock.

Step 2
Press Win key on your keyboard to go to the Start Screen and type PowerShell. Right-Click on the Windows PowerShell icon and at the bottom of the page select Run as administrator.

Step 3
Syntax for importing a script in the PowerShell is
As we unziped the CreatWindowTile.psm1 in the C:\CreateWindowsTile directory so in the PowerShell console we type
and hit the Enter key.

Step 4
If you got an Execution Policies error like the image below

then enter
press the Enter key and when it ask "Do you want to change the execution policy?", answer y (yes).

Step 5
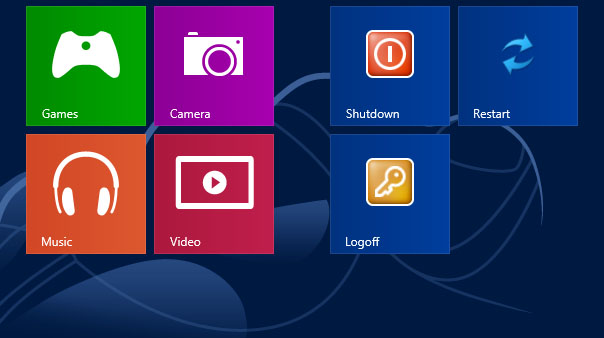
Again execut the import-module <script path> command like we did in the Step 3. This time the script file will executed successfully. To check go to the Start Screen and see if Shutdown, Restart and Logoff buttons tilled to the screen.
Creating Switch User Windows Tile
Till now we made Shutdown, Restart and Logoff tiles. To create Switch User tile also follow these steps:
Step 1
Go the the link below and download CreateSwitchUserWindowsTile script from the Microsoft TechNet. Unzip the file and right-click on SwitchUserWindowsTile.ps1 file. From the menu select Properties and then Unblock.

Step 2
Again open the PowerShell console as administrator. In this step you don't need to use import-module command, just write the path of the CreateSwitchUserWindowsTile.ps1 and hit the Enter key. I unzipped the file inside the CreateSwitchUserWindowsTile directory in the C: drive. So I will enter the command below, then press the Enter key.

Step 3
Go to the Start Screen (Win key) and you will see that the Switch User has tiled to the screen.

Creating Hibernation Windows Tile
Adding the Hibernation Windows tile is easy and like we add the Switch User tile, download the script file from the link below and for execute it just refer to the figures.


 Tag
Tag

 Home
Home Privacy Policy
 Contact
 About
About
 Powered by Blogger.