

Let me start with how to download, upload and use this software using a free web hosting provider:
Step 1
Before we do anything we need to download the ASProxyWing. To download follow the links below:
Before we do anything we need to download the ASProxyWing. To download follow the links below:
Or download from the official website:
ASProxyWing website

Note: You can use any website that offers you free web hosting services, but it must support ASP.NET.


To go to the admin page, enter this address:


ASProxyWing website
After download you get a zip file, unzip the file and
continue with step 2.
Step 2
Go to www.semee.com to create a new account and a free website. In the Online store page select Free hosting package and then Add to cart.
Go to www.semee.com to create a new account and a free website. In the Online store page select Free hosting package and then Add to cart.

Note: You can use any website that offers you free web hosting services, but it must support ASP.NET.
Step 3
On the next page, create a new account by entering the required information. Then register and continue to the next page.
On the next page, create a new account by entering the required information. Then register and continue to the next page.

Agree with the terms and conditions and select Continue.

Step 4
Now what you need to do is to choose a domain name (subdomain) for your website. The subdomain name can be anything. For this tutorial I have select asproxywing for my website, so my website URL address is www.asproxywing.somee.com. You can also use your own custom domain name.
Now what you need to do is to choose a domain name (subdomain) for your website. The subdomain name can be anything. For this tutorial I have select asproxywing for my website, so my website URL address is www.asproxywing.somee.com. You can also use your own custom domain name.
No need to change the Zone name and Operating system and for
ASP.Net choose the 2.0.3.0,3.5 version. Submit a Site title and if you like a
description also, then hit the Create website button. Your site is ready to
use.

Step 5
Click on Mange website link to go to your site control panel. From the left panel, select the File manager.
Click on Mange website link to go to your site control panel. From the left panel, select the File manager.
Step 6
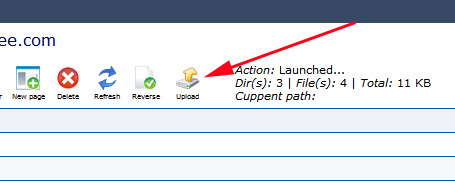
In the File manager window, you have to upload all files in the Upload directory of ASProxyWing application that you have downloaded it before. The Upload directory is inside the ASProxyWing-ServerASP.Net-0.8.1 directory. Also all contents of admin file inside the AdminUI directory.

You can use the Upload tool of File manager of your website control panel to upload the files one by one or all together as a zip file.
Another way is to use third
party software like FileZila to do this. Let me show you how.
Step 7
Download the FileZila from the links below and install it on your system.
Download the FileZila from the links below and install it on your system.
or download from the official website:
After installation completed, run the program. Enter your
website Host (URL address), Username and Password and click on Quickconnect
button.
Your website host name is the URL address of the website you
made with somee.com without http:// like
www.your-website.somee.com
And the password and username are your somee.com username
and password.

Step 8
When the FileZila connected successfully to your website
server, under the Root
file, double-click on the root directory. The root
directory name started with www like
www.your-website.somee.com

Step 9
Open the Upload file inside the
ASProxyWing-ServerASP.Net-0.8.1 that you have downloaded in step 1. Select all
files and drag and drop into the root directory of your site. See the image
below:


Wait till all files deployed and then do the same for admin
file, but remember drag and drop the admin file itself. When all the files
uploaded, close the FileZila and exit from the program.

Step 10
You are almost done. Open your system web browser and
enter the address below in the browser address bar and hit the Enter key:
http://your-website.somee.com/asproxywing.ashx
Instead of your-website, enter the subdomain or domain you
have defined for your site. it will show you the proxy version number.
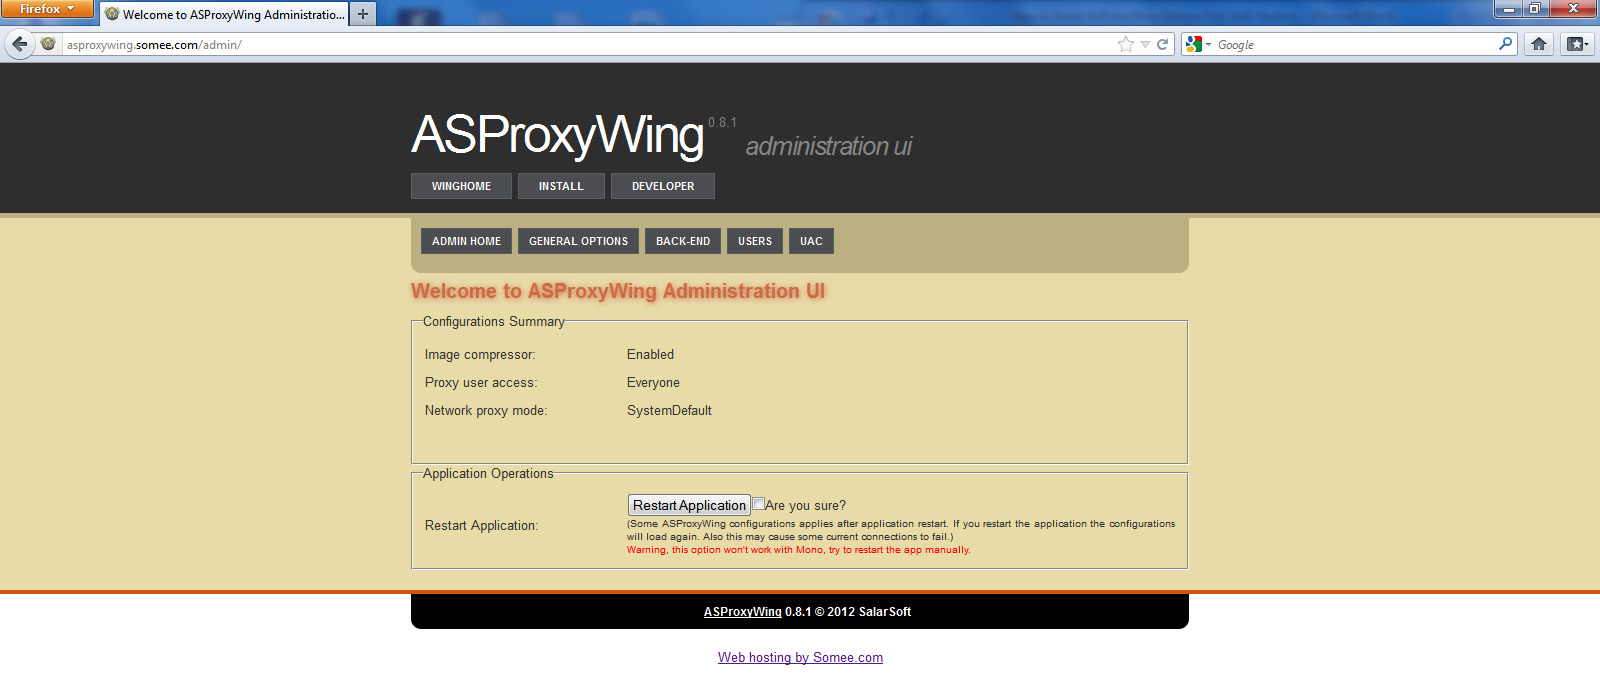
To go to the admin page, enter this address:
http://your-website.somee.com/admin

The administration UI used in case you want to add users to your website server. You
can submit a username and password for yourself to login to the admin account.
Step 11
Go back to ASProxyWing file and open it. Double-click on ASProxyWing.exe to run the program.
Go back to ASProxyWing file and open it. Double-click on ASProxyWing.exe to run the program.

Hit the Add/Edit Servers button.
Step 12
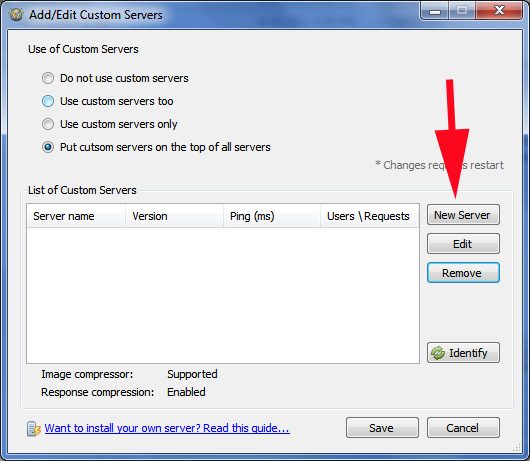
In Add/Edit Custom Servers page, select the Put custom servers on the top of all servers’ option and the hit the New Server button.
In Add/Edit Custom Servers page, select the Put custom servers on the top of all servers’ option and the hit the New Server button.
Step 13
Enter the server URL in the next page and save the window. Your server URL address is:
Enter the server URL in the next page and save the window. Your server URL address is:
http://your-website.somee.com/ASProxyWing.ashx
Save the window again and exit from the program.
Step 14
Open the ASProxyWing another time and wait for a few
seconds. Then you will see the server added to the application.
To get the best result, click on Config button and in the Configurations window, tick the System proxy option and save the window.
Now you can surf the Internet anonymously and freely. Just
remember the ASProxyWing application must remain open when you are surfing.
 Tag
Tag


 Home
Home Privacy Policy
 Contact
 About
About
 Powered by Blogger.